Shooting in natural light can be both rewarding and challenging. Unlike artificial lighting, natural light constantly changes, affecting exposure, shadows, and color tones. Photographers often struggle with issues like direction of light source, exposure, harsh shadows, and inconsistent lighting conditions. In this blog, we’ll explore common challenges and practical solutions for mastering natural light photography.
1. Controlling Exposure & Light Balance
Bright sunlight can cause overexposed images, while low light conditions may result in underexposure.
Solution to it:
- Use the Exposure Triangle (ISO, Aperture, and Shutter Speed) to control camera in Manual Mode.
- In bright light, lower the ISO (100-200) and increase shutter speed.
- Use a neutral density (ND) filter to reduce excess light.
- In low light, widen the aperture (low f-stop like f/2.8) and slow down the shutter speed.
Shooting in direct sunlight creates strong contrasts between highlights and shadows.
Solution to it:
- Use spot metering to expose the subject instead of the background.
- Shoot in RAW Image Format to recover details in post-processing(editing).
1. Controlling Exposure & Light
Bright sunlight can cause overexposed images, while low light conditions may result in underexposure.
Solution to it:
- Use the Exposure Triangle (ISO, Aperture, and Shutter Speed) to control (Camera In Manual Mode) light intake.
- In bright light, lower the ISO (100-200) and increase shutter speed.
- In low light, widen the aperture (low f-stop like f/2.8) and slow down the shutter speed.
Shooting in direct sunlight creates strong contrasts between highlights and shadows.
Solution to it:
- Use spot metering to expose the subject instead of the background.
- Shoot in RAW to recover details in post-processing.
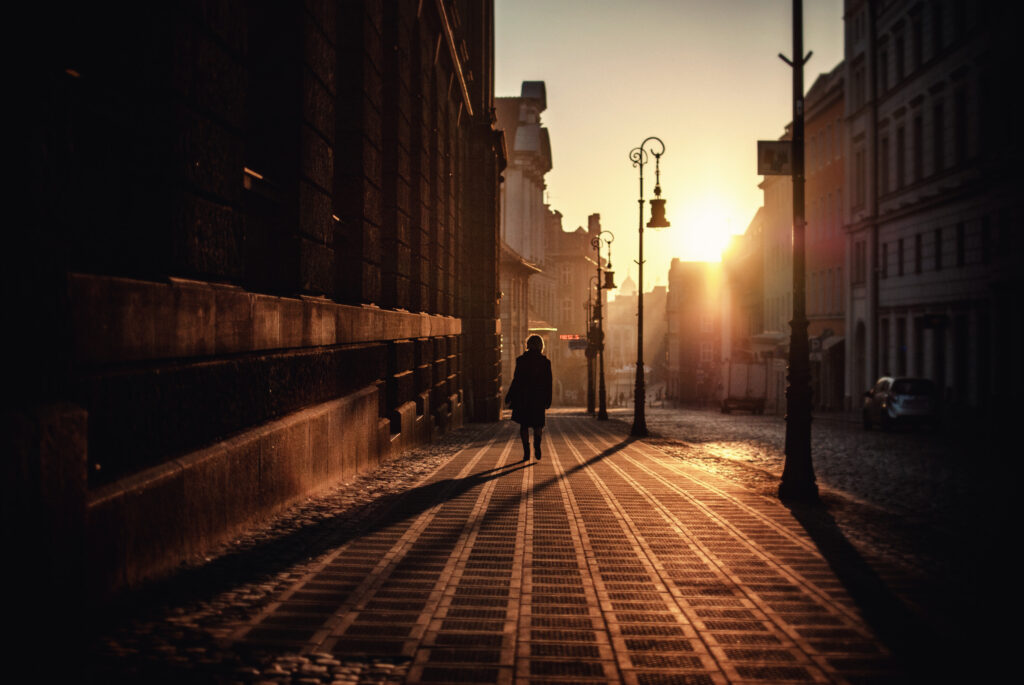
2. Choosing the Best Time for Shooting
Noon sunlight creates unflattering, high-contrast images.
Solution:
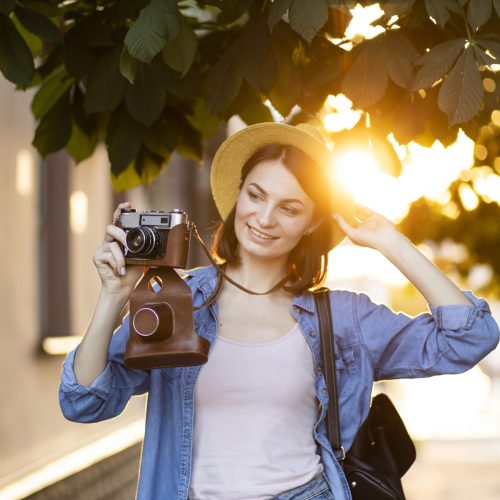
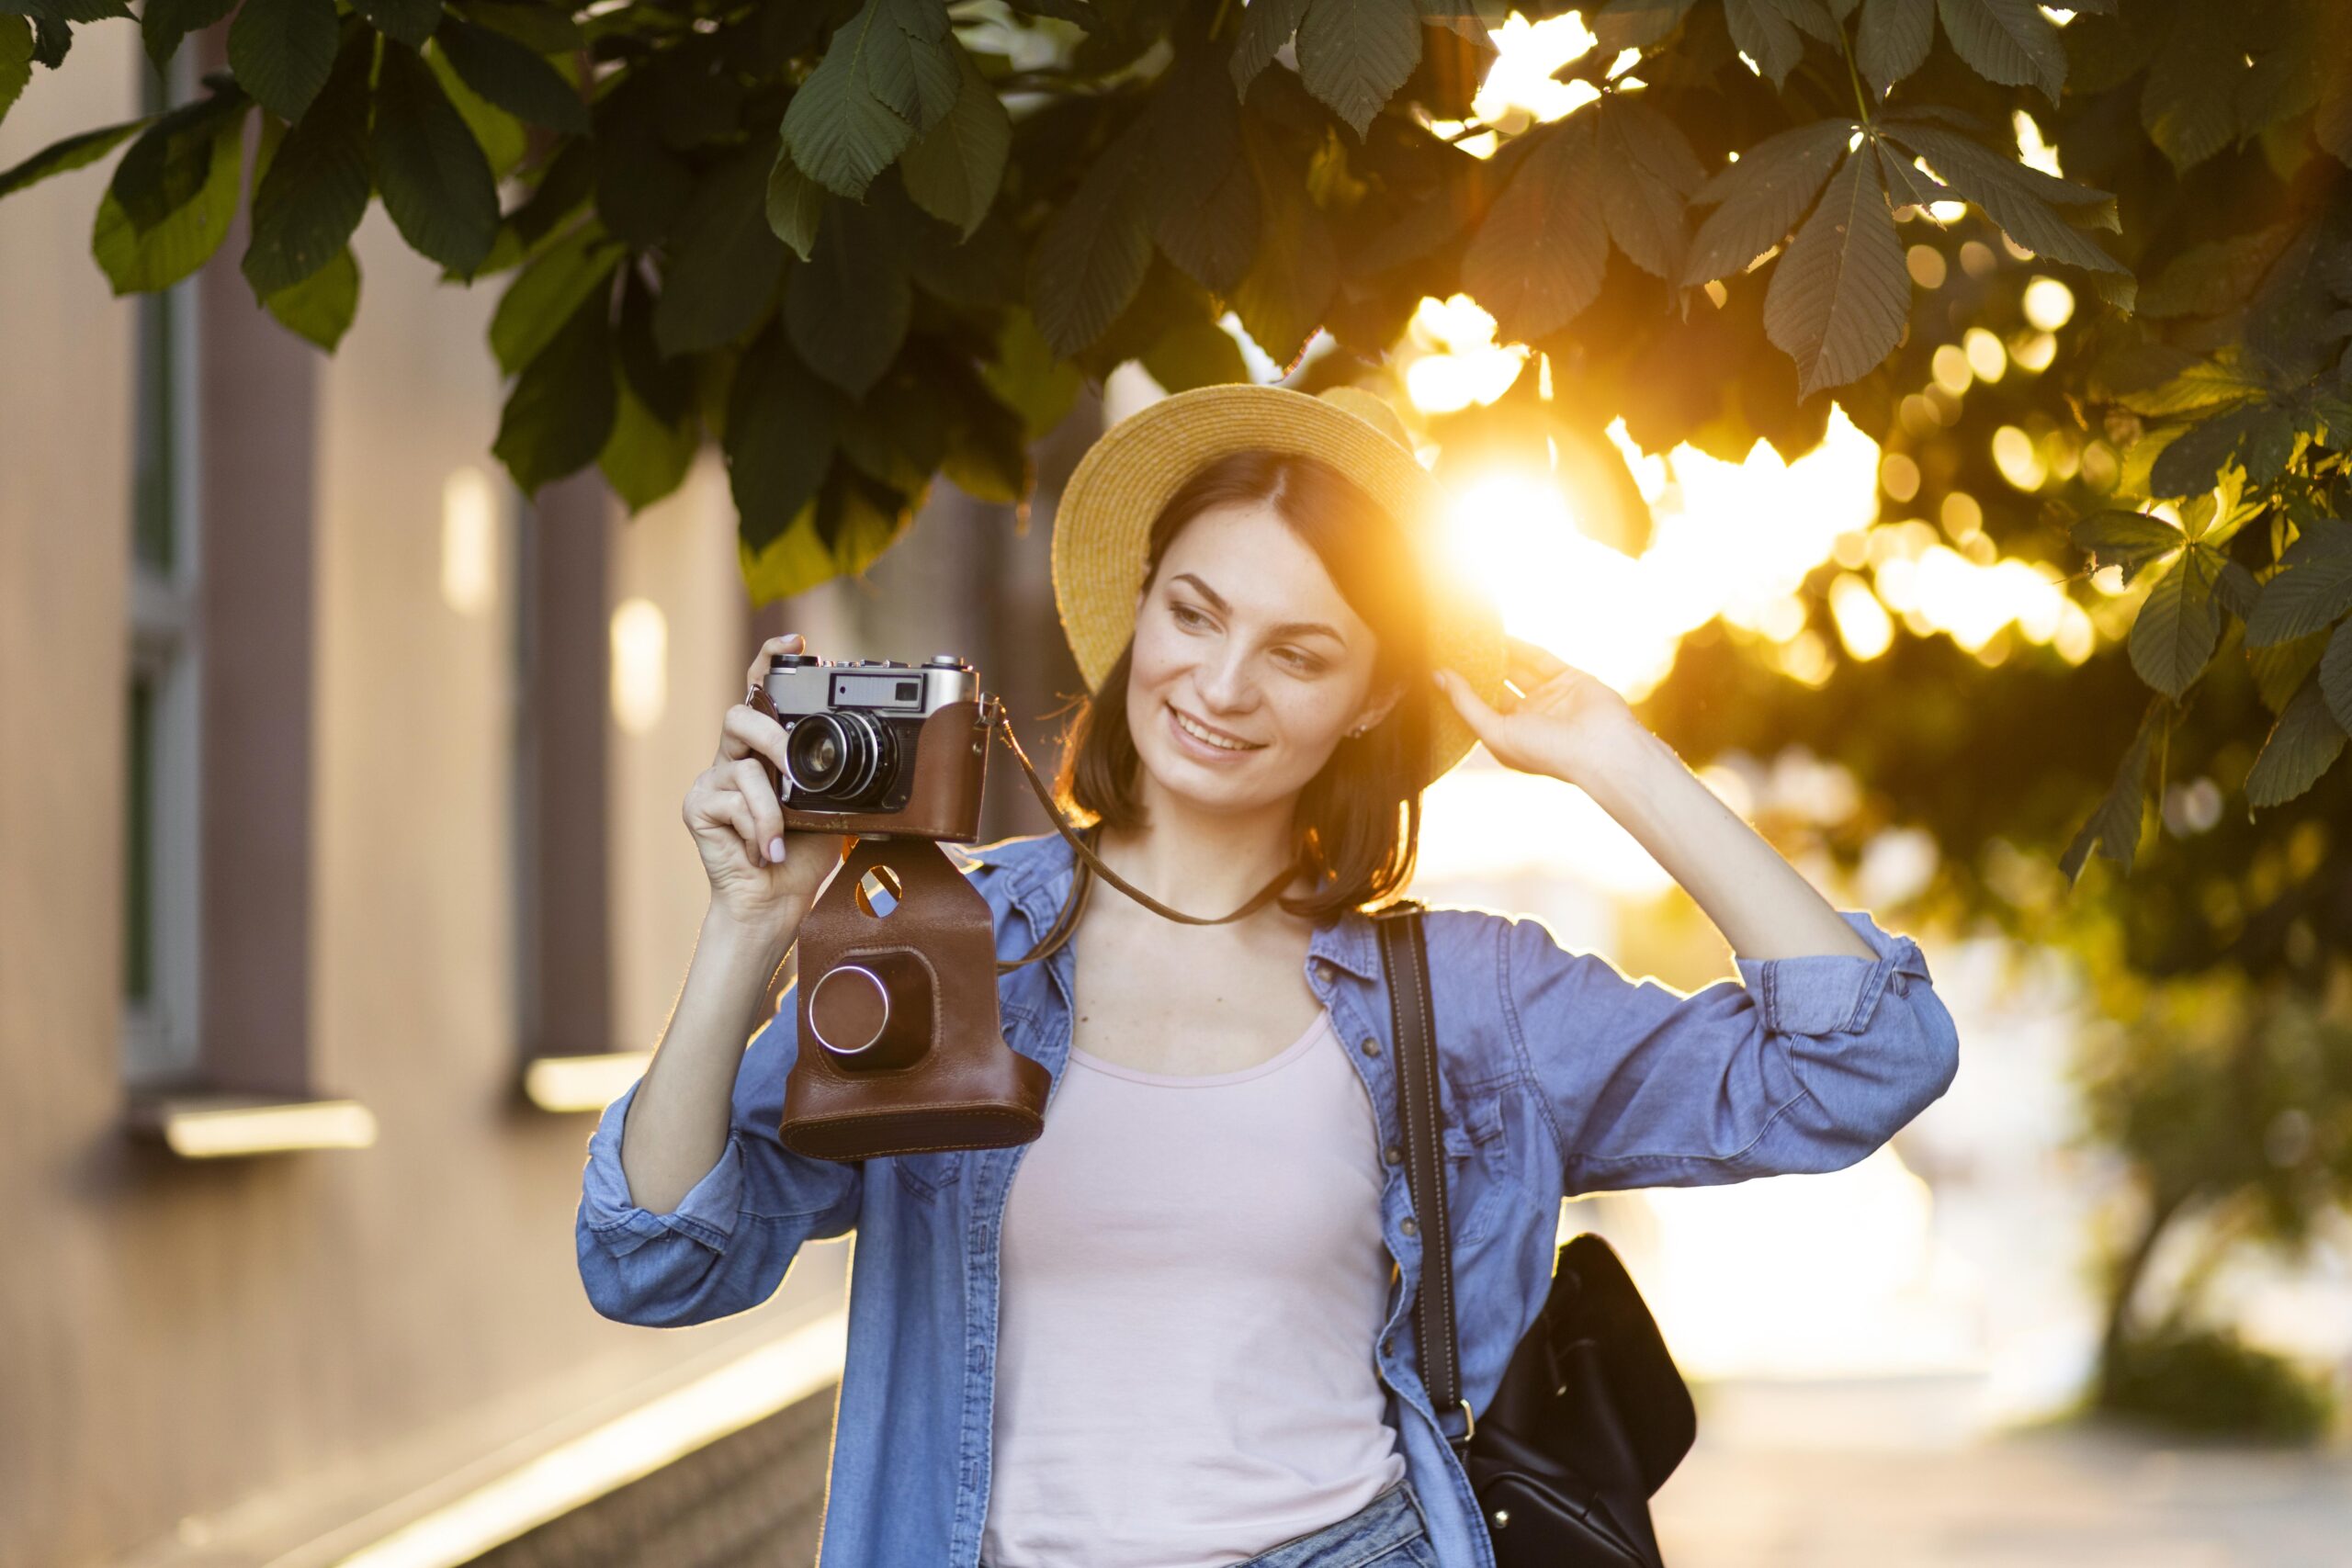
- Shoot during the golden hour (after sunrise or before sunset) for soft, warm light.
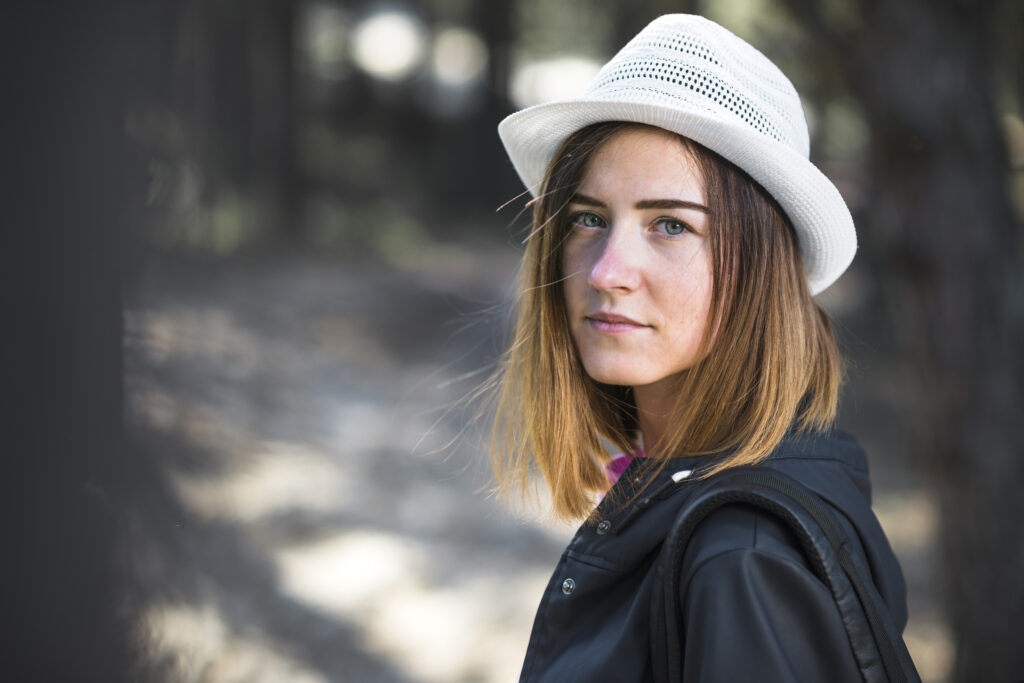
- Use natural diffusers like trees, buildings, or shade.
- Position the subject with the sun behind them for a natural backlight.
Cloudy skies and shifting weather affect light consistency.
Solution to it:
- Adjust white balance settings to match different lighting conditions.
- Use reflectors to add fill light when the sun is covered.
- Keep a tripod handy for longer exposures in low-light situations.
3. Managing Shadows and Contrast
Direct sunlight can create harsh shadows under the eyes and nose.
Solution to it:
- Use a reflector (silver or white) to bounce light onto the subject.
- Change the angle of shooting—try moving the subject to face the light.
- Use diffused light from cloudy weather or shaded areas for softer shadows.
Strong directional light can create distracting shadows.
Solution to it:
- Move the subject to an open-shade area.
- Use negative fill (black reflectors or fabrics) to control light spill.
- Experiment with silhouettes by exposing for the bright background.
4. White Balance & Color Accuracy
Different lighting conditions affect the warmth or coolness of an image.
Solution to it:
- Adjust the white balance setting in-camera:
- Daylight: 5200K
- Cloudy: 6000K
- Shade: 7000K
- Use a gray card for accurate color balance.
- Correct white balance in Lightroom or Photoshop if needed.
5. Composition & Background Selection
Unwanted objects can ruin a composition.
Solution to it:
- Use a wide aperture (f/1.8 – f/4) to blur the background.
- Change your shooting angle or move the subject.
- Look for natural frames (trees, doorways, windows) to isolate the subject.
Bright overhead light can make images look flat.
Solution to it:
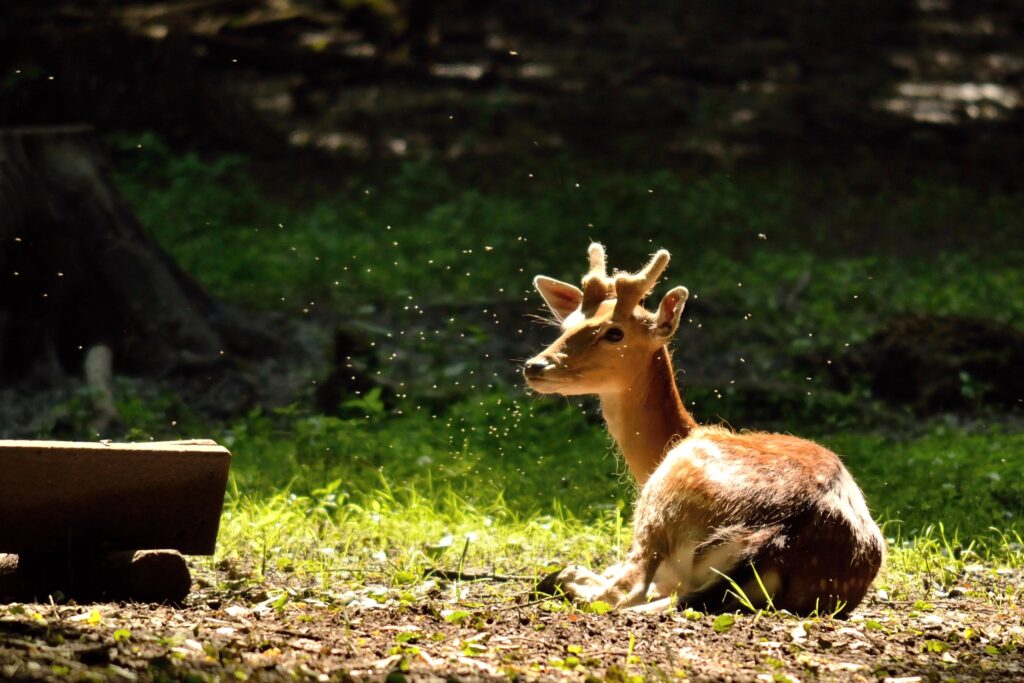
- Use side lighting to create depth and dimension.
- Position the subject where the light falls naturally (e.g., under a tree canopy).
Try backlighting for a glowing, dreamy effect.
6. Handling Motion & Light Variability
Moving subjects can appear blurry if the shutter speed is too slow.
Solution to it:
- Use a fast shutter speed (1/500s or higher) to freeze motion.
- Increase ISO if needed to compensate for faster shutter speeds.
- Use burst mode for action shots to capture the perfect moment.
Clouds moving over the sun can shift brightness levels suddenly.
Solution to it:
- Use Aperture Priority Mode (A/Av) to let the camera adjust shutter speed automatically.
- Enable Auto ISO to compensate for lighting changes.
- Frequently check the histogram to avoid clipping highlights or shadows.
7. Using Reflectors & Light Modifiers
One side of the face is brighter than the other.
Solution to it:
- Use a 5-in-1 reflector:
- White: Soft, natural fill light.
- Silver: Stronger, cooler light for contrast.
- Gold: Warm, sunset-like fill.
- Black: Absorbs light, reducing reflections.
- Diffuser: Softens harsh sunlight.
When shooting outdoors, artificial lights may not be an option.
Solution:
- Use natural elements like water, sand, or light-colored walls to bounce light.
- Try shooting near open windows if shooting indoors with natural light.